Screen capture is a bit off topic since it really has nothing to do with 3D visualization but I thought it might be of interest to any other 3D folks out there that want to start making their own video tutorials or whatever else to put up on YouTube or post on their blog. My goal here is to point you to all the tools you need and provide a basic tutorial on how to create your own quality screen capture videos all without spending a dime on software. Once you get all the tools watch the video tutorial at the bottom of the page to get see how to put them to use.
What do I need?
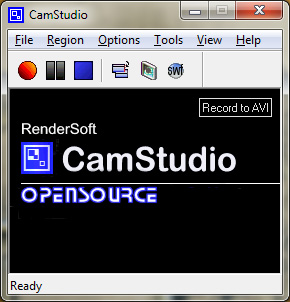
- CamStudio – Great little open source screen capture application. Captures Video and Audio and has a number of option for what parts of your screen to capture. You can use it with it’s own video compression codec or install one of many third-party codecs like FFDShow as mentioned below.
http://ffdshow-tryout.sourceforge.net/
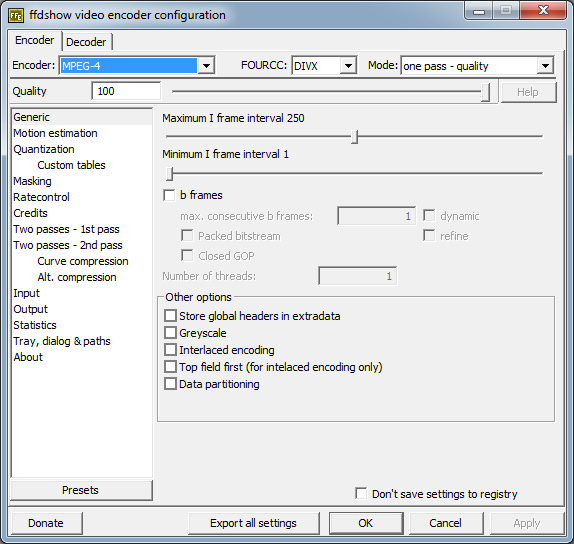
- FFDShow – You will want a good video codec to use along with CamStudio. CamStudio’s own codec creates pretty large files and is not compatible with most video editing applications. So I have been using an open source codec FFDShow, which can encode to many different formats. It has many more option than you will ever use but it’s great at encoding MPEG4 and DivX which are two ways to go if you want to keep image quality up and file size down, not to mention better compatibility.

- YouTube Video Editor – To keep things cost free and simple we’ll use YouTube’s own online editor. Once videos are uploaded they all become available to the editor for you to construct your final cut. Granted if your video is only one clip then you can skip the editing step all together.
What do I do with these things?
Videos Done, how do I get this on my site?
- Embedding – Now that your video is published and there for the world to see you may want to embed it in your site or blog. YouTube makes this exceedingly simple by providing you the embed code. When viewing your video just click “Embed” button below and adjust the options to your liking. Then copy the code and past it into your blog post or site HTML. The Code should look something like this:
So I hope this helped push a few folks over the edge and into creating some of their own tutorials or whatever! Also, I should note this video tutorial was created with the same technique. Though I use Adobe Premiere for most any serious editing I thought it would be best to keep this tutorial pure and demonstrate an entirely cost free workflow. Also I forgot to mention how to embed the video on your site or blog so that step has been added above. Thank for checking it out!
Tagged: camstudio, free screen capture, make tutorials, opensource, Screen Capture, videocast, youtube editor